The Sphagnum Moss Method, Step by Step
 Reviewed by
 Moss holds moisture and air at the same time — the exact combination a rooting cutting craves — which is why so many stubborn plants root in it when nothing else works.
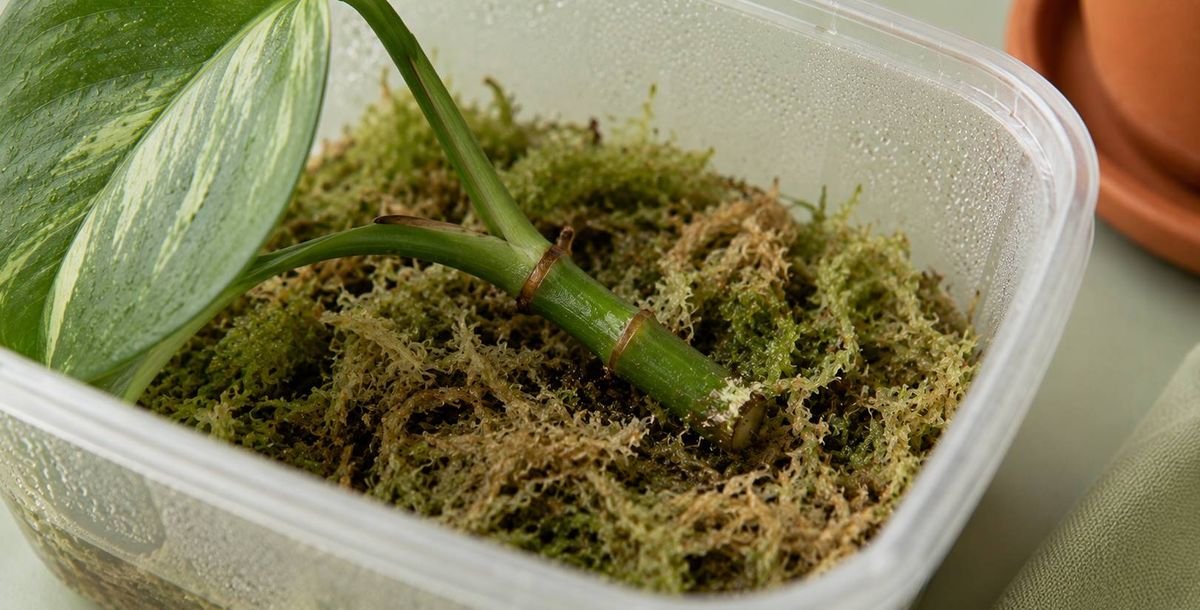
If you've had cuttings rot in water or stall in soil, sphagnum moss is often the thing that finally works. It holds moisture and air at the same time — the exact combination a rooting cutting craves — which is why so many stubborn plants root in moss when nothing else will. It's a favourite for anything prone to rot or slow to start.
Why moss works so well
Rooting cuttings want two things that usually pull against each other: constant moisture and plenty of oxygen. Water gives moisture but limited oxygen; dense soil can go either soggy or bone dry. Sphagnum moss threads the needle — it stays evenly damp for a long time while its airy structure keeps oxygen around the stem. The result is a gentle, humid, breathable pocket that encourages roots without drowning them. That's the whole appeal in one sentence.
What you'll need
- Long-fibre sphagnum moss, dried (it expands hugely when soaked).
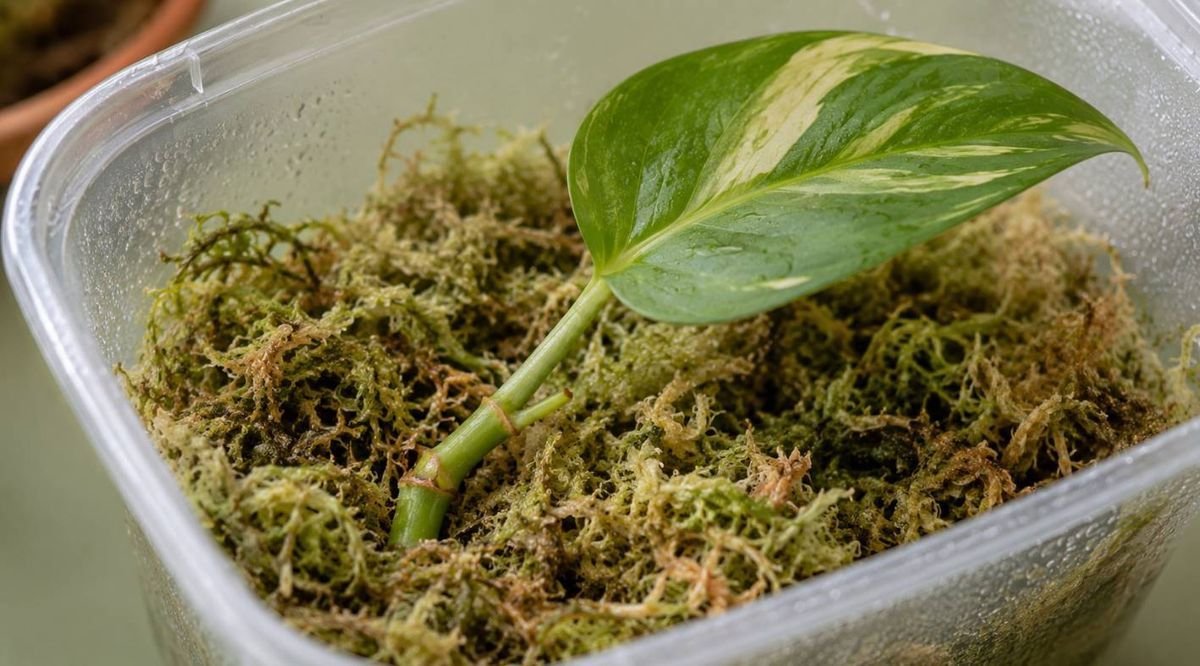
- A clear container — a tub, jar or bag so you can watch for roots and keep humidity up.
- Your cutting, taken with at least one node, the same as any other method.
The moss method, step by step
Soak and wring the moss
Soak dried moss in water for a few minutes, then squeeze out the excess until it's damp but no longer dripping. Waterlogged moss rots cuttings just like waterlogged soil.
Nestle the cutting in
Bury the node in the moss so it's surrounded but not buried deep. Keep the leaves above the moss line.
Create gentle humidity
Loosely cover the container or bag to trap humidity. A little airflow prevents mould, so don't seal it airtight.
Keep it bright and warm
Bright indirect light and normal room warmth speed rooting. Avoid direct sun, which cooks the enclosed moss.
Check and re-moisten
Every few days, glance for roots and mist the moss if it's drying at the edges. Roots typically appear in two to four weeks on easy plants.
Preparing the moss
Dried sphagnum expands dramatically, so a small handful goes a long way — soak less than you think you need. After soaking, the golden rule is the wring: too wet and you're back to rot territory; too dry and roots won't form. Aim for the wrung-out-sponge feel every time you re-moisten. If you spot fuzzy mould forming, that's usually a sign of too little airflow or too much moisture — our guide on mould on propagation setups covers the quick fix.
Moving on from moss
Once roots are an inch or two long, you have a choice. Because moss is so gentle, you can often pot the cutting straight into soil with the moss still clinging to the roots — less disturbance, less shock. Keep the new pot lightly moist for the first couple of weeks while it settles. If you'd rather understand the timing precisely, see when to move a cutting to soil, and if a moss-rooted cutting sulks after potting, transplant shock explains why and how to ease it.
Common questions
Is sphagnum moss better than water for propagation?
For rot-prone or slow cuttings, often yes — moss holds moisture and oxygen together, which reduces rot. For easy trailing plants, water is simpler and lets you watch the roots.
How wet should the moss be?
Damp like a wrung-out sponge, never dripping. Waterlogged moss rots cuttings just as fast as waterlogged soil.
Can I reuse sphagnum moss?
It's best to start fresh for each batch, since used moss can carry mould spores or pathogens from a previous cutting. It's inexpensive and a little goes a long way.
Do I have to remove the moss before potting?
No. One advantage of moss is that you can pot the cutting with the moss still on the roots, which reduces disturbance and transplant shock.